

Homemade worm compost bin: build a 3-tier stacking bin
A homemade worm compost bin is three stackable plastic bins: two with drainage holes for the worms, and a bottom bin with a tap to collect liquid. Drill, fit the tap, cut a lid if needed, assemble, and keep it in the shade.
Building a homemade worm compost bin is not difficult. On this page you learn how to build a 3-tier worm composting bin with the same method I have used for years. After nearly 30 years of worm farming, first in South Africa and then in Germany, this stacking design is still my favourite home setup: worms move up to fresh food, and harvesting the lower tray is simple. For a cheaper single bucket see the budget worm farm; for a 2-bucket tap bin see the DIY worm composting bin.
What are the three tiers for?
- Top and middle bins: house the worms. Holes in the bottom let worms crawl upward to follow the food.
- Bottom bin: collects liquid (leachate). Fit a tap so you can drain it. This liquid is not the same as brewed worm tea — dilute it well if you use it on plants.
- Lid: keeps light, rain and predators out.
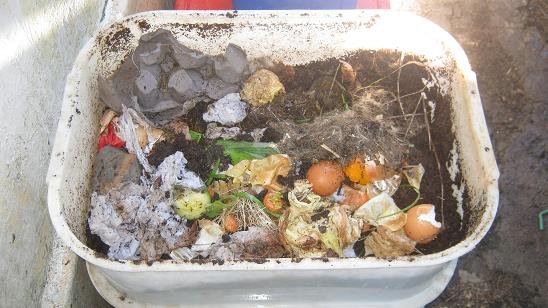
How do I build a homemade worm compost bin, step by step?
You will need: power drill; hole saw set; drill bit 5–8 mm (about 1/5–1/3 inch); jigsaw or strong scissors (optional); 3 stackable plastic bins of the same size; 1 lid or plastic sheet; 1 tap (or a wine-cork as a stopgap).
1Drill drainage holes in the two worm bins
Start with the two bins that will house the worms. Drill plenty of holes about 5–8 mm into the bottom of both, spaced about 5 cm / 2 inches apart. These holes stop flooding (worms drown without oxygen) and let worms crawl up into the next tray to follow the food.
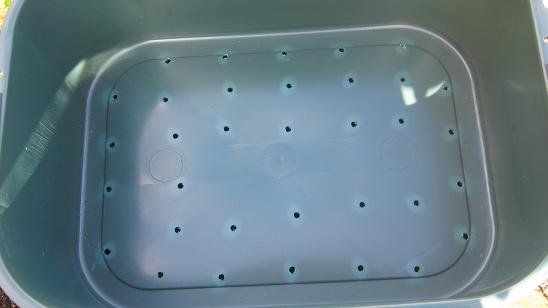
A worm bin with drainage holes 2Drill the tap hole in the bottom bin
Drill a hole for the tap in the front of the third bin (the leachate collector). Use a hole saw just a fraction bigger than the tap. Place the hole as low as you can while leaving room to tighten the nut inside. No tap? A wine cork works as a temporary plug.
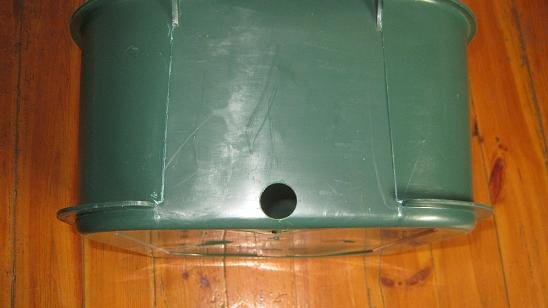
A worm bin with a hole for a tap 3Attach the tap
Push the tap through, add the washer and tighten the nut on the inside so it does not leak.
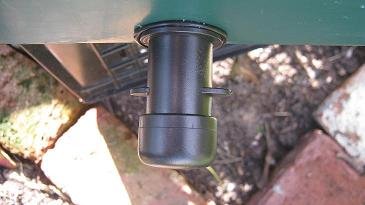
A tap attached to the bottom worm bin 4Make a lid if you need one
If your bins came with a lid, use it. Otherwise cut a plastic sheet 3–5 mm thick to the size of the bin: place a bin upside down on the sheet, mark the edges, and cut with a jigsaw or strong scissors.
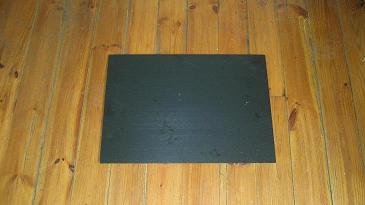
Plastic sheet for the lid 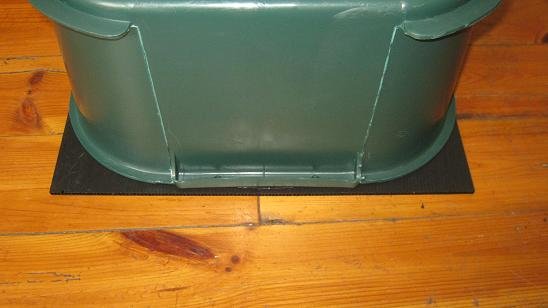
Marking the lid 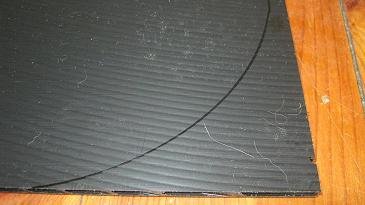
Marked sheet ready to cut 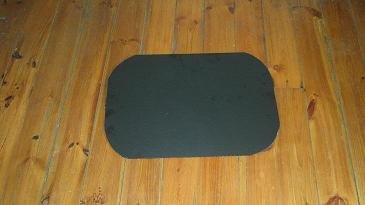
Finished lid 5Assemble and place in the shade
Stack working bin(s) on the collecting bin, put the lid on, and you are ready. Outdoors, put a flower pot or brick on the lid against wind. Never leave the bin in full sun — heat can kill the worms. Good spots: under a tree, in a garage or shed. Compost worms cope with about 5–29 °C (41–84.2 °F), and they do best at 15–25 °C (59–77 °F).
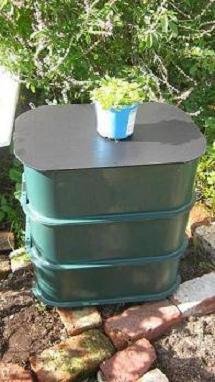
Homemade 3-tier worm compost bin
How do I start the bin after building it?
Add moist bedding (shredded cardboard or newspaper), then your compost worms, then a little food under the bedding. Coffee grounds: feed sparingly. Follow starting a worm farm for the first weeks. Do not overfeed while the herd is still small.
How do I harvest castings from a stacking bin?
When the lower working tray is mostly finished castings, add fresh food in the tray above. The worms migrate up. Then empty the lower tray. Full walkthrough: harvesting worm castings from stacking bins.
Indoor or outdoor homemade bin?
Outdoors needs shade and predator protection. Indoors needs a close-fitting lid and careful moisture control so you do not get flies or smells. See indoor worm farm. Compare other designs on types of worm bins.
How many worms and how much bedding?
Start with about 500 to 1,000 compost worms in a typical household 3-tier bin and enough moist bedding to fill the working tray several centimetres deep. Shredded cardboard and newspaper are excellent. Coffee grounds: feed sparingly. Add food under the bedding, not in a heap on top, to discourage flies.
What about the liquid from the tap?
Open the tap regularly so the working trays never sit in a flood. The liquid is leachate, not brewed worm tea. Dilute it well (for example 10:1 with water) if you use it on ornamentals, or discard it if it smells foul. For true tea, brew castings with molasses and air — see worm tea.
Happy worming!
Stephan Kloppert
Nearly 30 years of worm farming in South Africa and Germany
Just starting your first worm farm? The Easy Worm Farming Planner keeps you on track week by week.