Starting and maintaining a worm farm
Starting a worm farm to convert organic waste into nutrient rich plant food and soil conditioner is easy! This page will give you step by step instructions how to set up and maintain a 3 tier worm bin
1.Find a place out of direct sunlight for your Worm bin to prevent overheating.
Shredded cardboard or newspaper make an excellent worm bedding
2. Place a layer of approximately 10 cm / 4 inches of moist bedding in the bottom of your Middle Bin
As bedding you could use Shredded News Paper or Cardboard.
The bedding should be soaked in water for at least one hour and then drained before you add it to the worm farm.
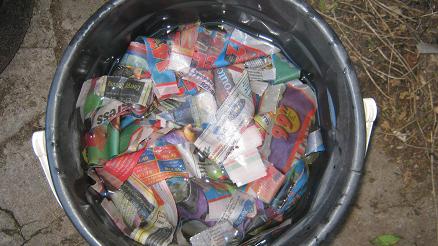
Soaked newspapers make fine worm bin bedding.
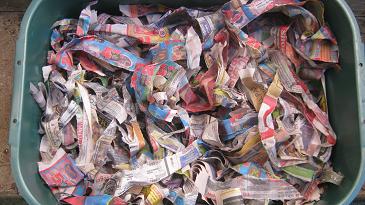
Wet newspaper strips placed in a worm bin.
Add worms to the worm farm
3. Place the worms with some soil or compost on top of the Shredded paper.
Your worms will burrow down into the bedding
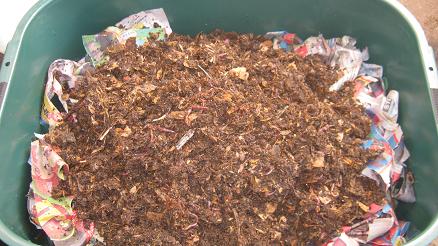
Worms and compost added on top of the soaked newspaper strips.
Worm food
4. Start adding worm food in small quantities at first. Increase feeding with time.
Place the worm food on top of the bedding and cover it up with a whole soaked Newspaper and a plastic sheet, this will act as an barrier against pests and keep the moisture levels more stable inside the worm bin
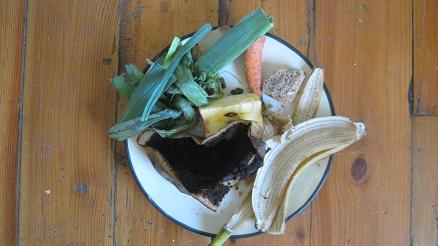
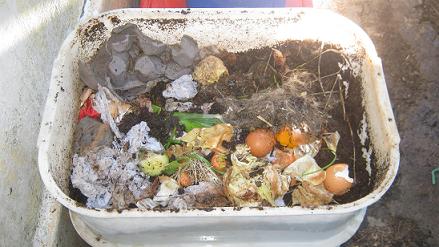
A plate of kitchen scraps that will make good worm food.
Moisture control
5. The Contents of the worm bin should always be moist
If the bedding seems to become dry, pour some water (a few liters / half a gallon) over the food and bedding but if possible avoid fresh tap water that contains chlorine!
Let water with chlorine stand in an open bucket for 24 hours. This will help to reduce the chlorine level in the water.
The bedding should ideally be as moist as a squeezed out sponge.
A little more or less will still be fine.
(Worms are breathing through their skin and need a moist environment to breath)
----------
6. In regular intervals remove the plastic sheet and newspaper and add fresh food onto the surface of the Middle bin.
Compost worms are top feeders and will always
migrate upwards to follow the food supply
Once the middle bin is full start adding food to the bin on top of it,
over a period of time most of the
worms will migrate upwards into the top bin
----------
7. Regularly add some water to your worm bin to adjust the moisture level.
The bedding and remaining food in the bin will soak up the moisture level it can hold.
The excess liquid will absorb nutrients from the finished worm castings in the bin and will drain into the bottom bin (It should ideally have a Tap)
You can harvest the liquid and either use as is or brew some fresh Worm tea with it
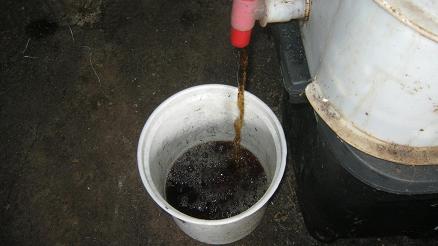
Some liquidized worm castings are flowing into a bucket.
Harvesting the worm castings
8. When the top bin is about half full with worm castings and food most of the compost worms should now be in the top bin.
Now harvest the worm castings from the middle bin Empty the worm castings from the middle bin and place the empty bin on top of the half full bin that is now containing the worms
One of the advantages of a 3
tier worm bin is the fact that you don’t have to separate the compost worms from the worm castings
manually
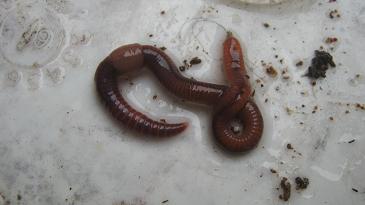
An important note about worms that live in worm farms:Compost worms of the variety Eisenia Fetida can handle a wide range of Temperatures from about 5 degrees C /41 degrees Fahrenheit to 28 degrees C / 82 degrees Fahrenheit quite comfortably.
-----------
The 4 things you will need to start a worm farm
----------
----------
10 good reasons to start a worm bin!
----------
----------
----------
For more worm compost related information!
Type your question or keywords (for example “earthworm”) into the search box below.
Search / Suchen
On SPECIAL
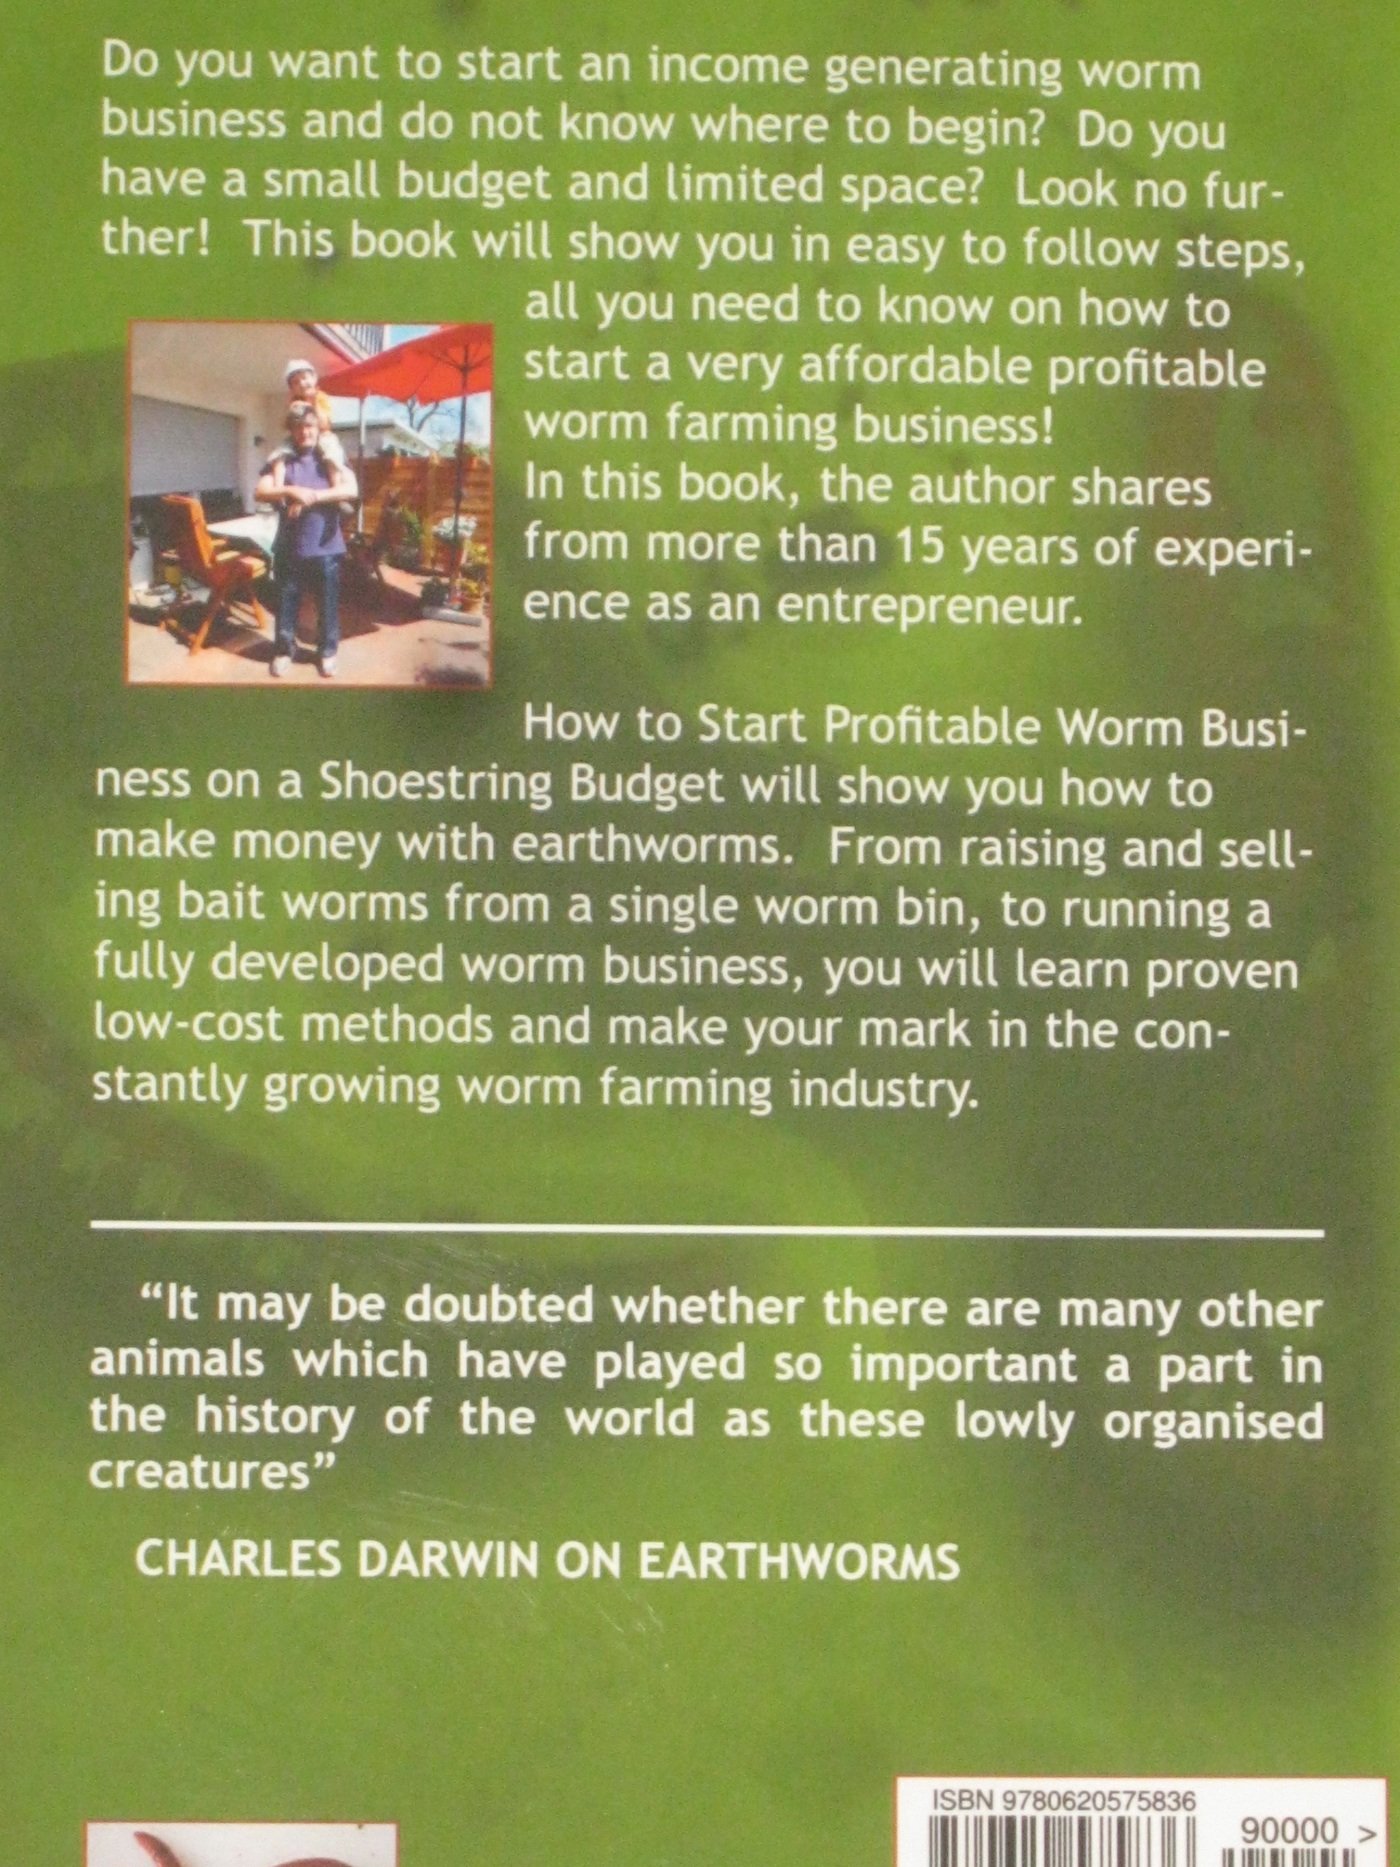
"How to start a profitable worm business on a shoestring budget
Order a printed copy from "Amazon" for only
$11.95
or a digital version from the "Kindle" store for only
$4.95
Prices valid till 31.03.2025
Our New Book
Order the Kindle E-book for the SPECIAL PRICE of only
$3.95
Prices valid till 31.03.2025!




New! Comments
Have your say about what you just read! Leave me a comment in the box below.