
Starting a worm composting business: step by step
Start with one or two bins and learn to keep worms healthy. Multiply your herd, line up a steady supply of free worm food, test a first product with real customers, then expand bed by bed. Keep your current income until the worm business pays its way.
Reader questionNimal, Sri Lanka
“I am 58 years old. In two years’ time I will be retired, so I would like to start worm composting fertilizer production in a commercial way, to have an income. Can you please help me?”
Two years is a good amount of time to start, Nimal. You can learn on a small scale while you are still earning. Here are the steps I would follow, from nearly 30 years of worm farming in South Africa and Germany. For free breeding stock, see start a worm business without buying worms.
Step 1: Learn with one or two bins
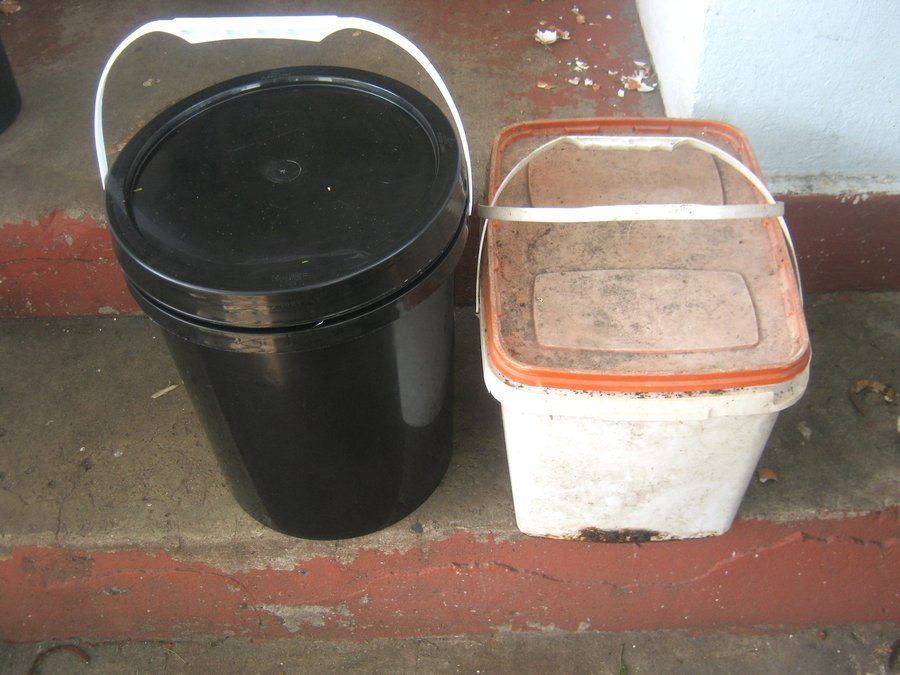
Cheap DIY bins (buckets, drums, old bathtubs) are fine. Learn moisture, bedding, feeding and harvesting before you spend money on bigger beds. My beginner guide is starting a worm farm.
The full step-by-step
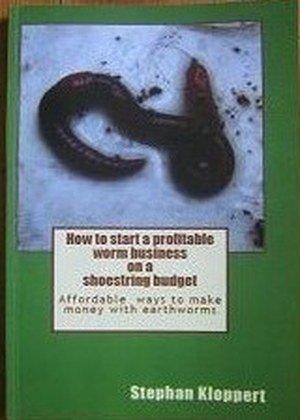
I wrote down every step of starting a worm composting business from scratch on a very low budget. I’ve written it all down in my book How to Start a Profitable Worm Business on a Shoestring Budget. The printed book and the Kindle edition are sold on Amazon.
See what’s inside the book →Step 2: Grow your herd
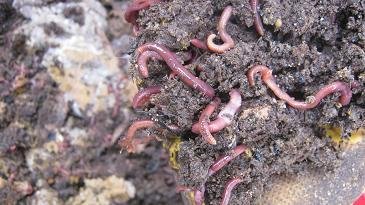
Compost worms (usually Eisenia fetida, red wigglers) multiply fast in good conditions. Split bins as they fill instead of buying large amounts of worms. Keep track of how the herd grows in your own climate.
Step 3: Secure free worm food
A business needs steady feedstock: kitchen scraps, garden waste, manure from stables or farms, cardboard. Talk to greengrocers, cafes and farms near you. Coffee grounds are useful, but feed sparingly.
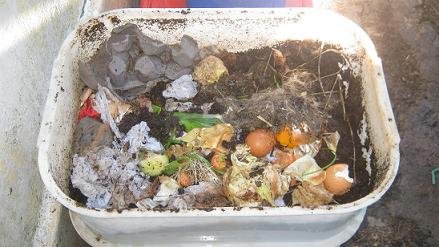
Step 4: Test one product with real customers
Choose the product your area wants most: castings, worms for composting or fishing bait, or worm tea. Sell small amounts to people you know and ask for honest feedback. See vermicompost business for selling castings.
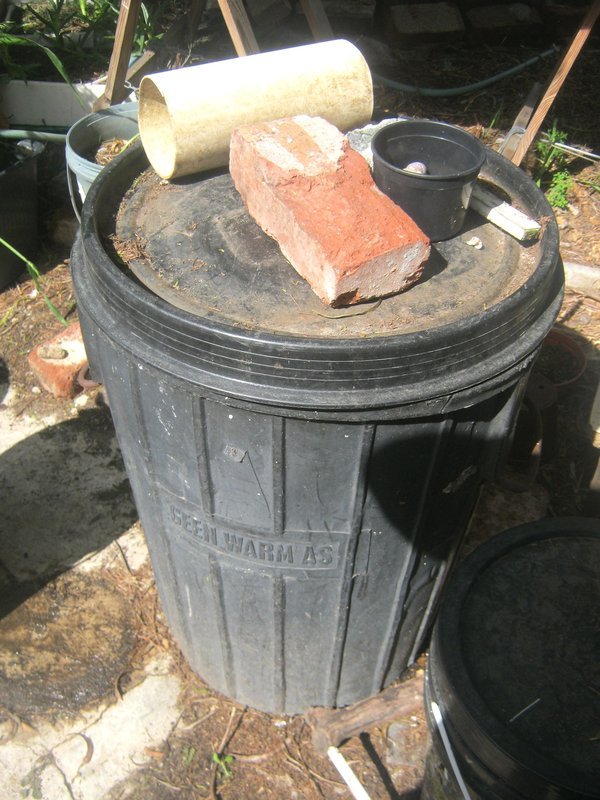
Step 5: Expand bed by bed
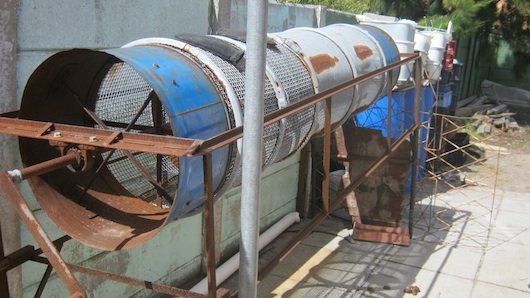
Only grow when orders are steady. Add beds, a harvester and storage as needed, and keep records of feed, harvest dates and sales. Production methods at scale are in production of vermicast. More questions and answers: Q&A on starting a profitable worm business. I teach worm farming and write about it; I do not sell worms, castings or other physical products myself.
Just starting your first worm farm? The Easy Worm Farming Planner keeps you on track week by week.
Happy worming!
Stephan Kloppert
Nearly 30 years of worm farming in South Africa and Germany