

Homemade worm compost bin
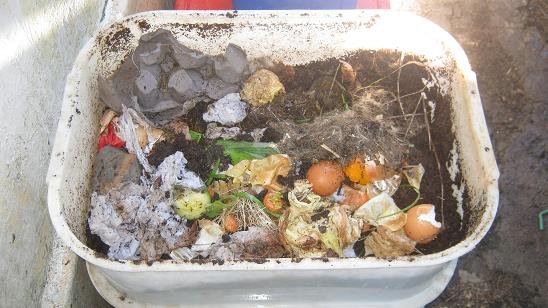
Building a homemade worm compost bin is not a difficult task. On this page you will learn how to build a 3 tier worm composting bin!
The three tiers at a glance
- Top and middle bin: the 2 bins that will house the worms. Holes in the bottom let the worms crawl upwards into the next container to follow the food supply.
- Bottom bin: collects the worm tea / leachate and has the tap.
- Lid: on top of the stack.
Build your homemade worm compost bin today!
To get started you will need the following tools and accessories:
- Power drill
- Hole saw set
- Drill bit 5 mm to 8 mm / 1/5th to 1/3rd of an inch
- Jigsaw or strong scissors (optional)
- 3 stack-able plastic bins of the same size
- 1 lid / plastic sheet
- 1 tap or cork
1 Drill drainage holes in the 2 worm bins
Start with the 2 bins that will house the worms.
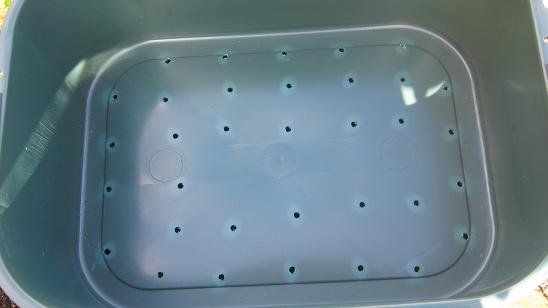
Drill plenty of holes of about 5 to 8mm / 1/5th to 1/3rd inch into the bottom of two bins. The holes should be about 5 cm / 2 inches apart from each other.
These holes are important to:
- prevent the worm bin from being flooded. The worms need oxygen to survive and could drown!
- give the worms the option to crawl upwards into the next container to follow the food supply.
2 Drill a hole for the tap in the 3rd bin
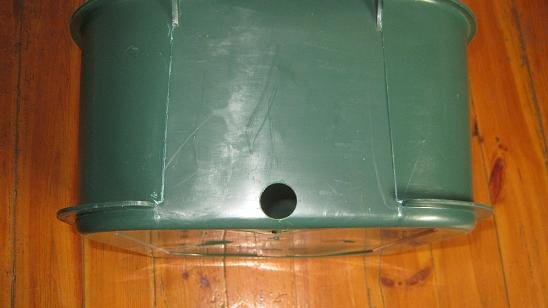
Next drill a hole for your tap into the front side of the 3rd bin, which will collect the worm tea / leachate. If you can’t get hold of a tap, use a cork of a wine bottle instead.
Make sure the hole saw bit or drill bit you use will be just a tiny bit bigger than the diameter of your tap that you want to attach to the bin.
Drill the hole for the tap as low on the wall of the worm bin as you can, but leave enough space so you can fasten the nut of the tap inside the bin to ensure a tight fit.
3 Attach the tap to the bottom bin
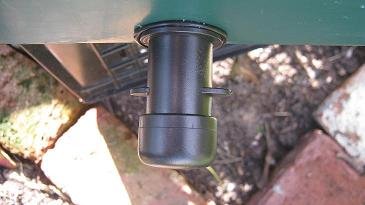
Next attach the tap to the bottom bin.
4 Get a sheet for the lid
Now you will need a lid for your worm farm. If your bins came with a fitting lid, that’s great. If not, you’ll have to make one yourself.
Get a plastic sheet that is the same size as the surface of your bins or slightly bigger. The sheet should be 3 to 5mm / 0.11 to 0.19 inches thick.
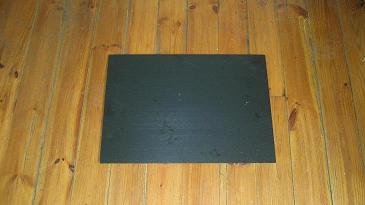
5 Place a bin upside down on the sheet
Place one of the bins upside down on top of the plastic sheet.
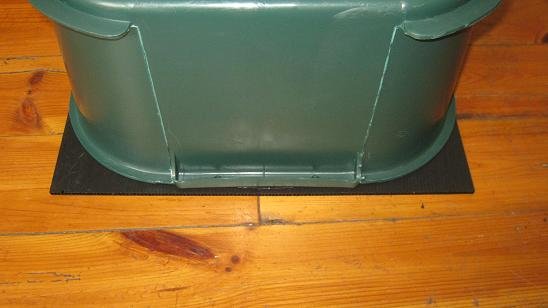
6 Mark the edges
Mark the lid with a pen or pencil to show the edges of the bin.
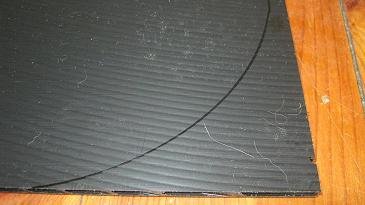
7 Cut out the lid
Saw the marked edges off with a jigsaw or cut them off with a strong pair of scissors.
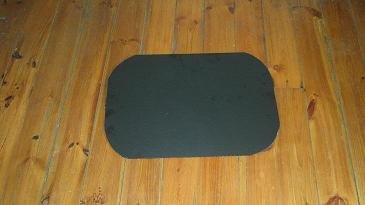
8 Assemble the bin
Assemble the bin and you are ready to start your worm composting project!
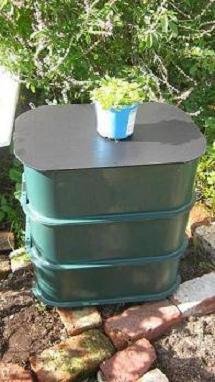
9 Choose a shady spot
Most worm bins will stand outside. If you want to use your worm bin outdoors, place a small flower pot on top of the lid to keep it in place in case of wind!
Your worm farm should not stand in full sun as this might cause a serious problem for your worms on a very hot day. Good places to place your worm bin are in shaded areas, for example under a tree, in the garage or in a shed in the backyard.